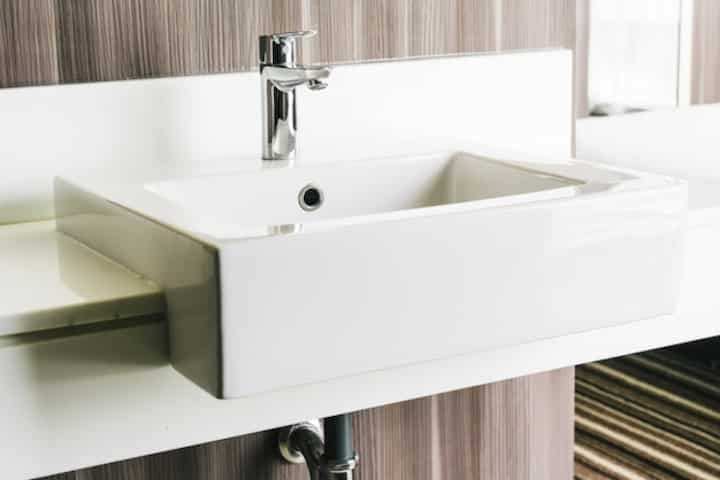
Expert Guide to Bathroom Basin and Sink Installation
Installing a bathroom basin or sink is one of the most approachable DIY tasks for homeowners looking to refresh their bathroom space. The process, while straightforward, requires careful planning and attention to detail to ensure proper installation and functionality. This guide provides expert insights into the installation process, essential tools, and common considerations to help you achieve a professional finish.
Preparation and Planning
Before diving into the installation, it's crucial to prepare and plan effectively. This stage sets the foundation for a successful project.
Choosing the Right Basin or Sink
- Consider the size and style that best fits your bathroom design.
- Ensure compatibility with existing plumbing configurations.
- Decide between different types such as pedestal, wall-mounted, or countertop sinks.
Gathering Necessary Tools and Materials
- Adjustable wrench
- Pipe wrench
- Plumber’s tape
- Silicone sealant
- Spirit level
- Drill and appropriate bits
Learn more about the essential tools and materials needed for a successful installation in this detailed guide.
Installation Process
With preparation complete, the installation process can begin. Follow these steps to ensure a smooth installation.
Step 1: Shut Off Water Supply
- Locate and turn off the water supply to the bathroom.
- Open the faucet to drain any remaining water in the pipes.
Step 2: Remove Old Basin or Sink
- Disconnect the water supply lines and drain pipes.
- Carefully remove the old sink, ensuring no damage to surrounding areas.
- Clean the area thoroughly to prepare for the new installation.
Find additional information on removing old fixtures here.
Step 3: Install the New Basin or Sink
- Position the sink according to your design plan, ensuring it is level.
- Secure the sink using the appropriate mounting hardware.
- Connect the water supply lines and drain pipes. Use plumber’s tape to ensure a watertight seal.
- Apply silicone sealant around the edges for a clean finish.
Explore further insights on proper installation techniques here.
Post-Installation Considerations
Once the sink is installed, there are several considerations to ensure its longevity and performance.
Testing for Leaks
- Turn on the water supply and check for any leaks around connections.
- Tighten connections as needed to prevent water damage.
Regular Maintenance
- Clean the sink regularly to prevent buildup of dirt and grime.
- Inspect plumbing connections periodically for wear and tear.
Read more about maintaining your bathroom fixtures in this comprehensive guide.
Conclusion
Installing a bathroom basin or sink not only enhances the aesthetic appeal of your bathroom but also improves its functionality. By following this expert guide, you can achieve a professional installation that will serve your household for years to come. For those seeking more detailed guidance or facing complex installations, further resources are available to assist in every step of the process. Explore further insights here.